Prototyping is a fundamental step in product development that bridges the gap between initial ideas and final products. It enables designers, engineers, and businesses to visualize, test, and refine their concepts before committing to full-scale production. By creating prototypes, companies can minimize risks, identify potential issues, and ensure the final product meets customer expectations and functional requirements. This article explores the importance of prototyping, the different types of prototypes, and a step-by-step guide to developing effective prototypes that drive innovation and market success.
Why Prototyping Matters
Prototyping plays a critical role in product design and development, offering several key advantages:
- Concept Validation: Prototypes help validate ideas by turning abstract concepts into tangible models.
- Error Detection and Risk Reduction: Early testing of prototypes allows developers to identify design flaws, saving costs and time.
- Customer Feedback: A prototype provides a visual representation that stakeholders and customers can interact with, offering valuable feedback.
- Efficient Iterations: Prototyping facilitates iterative design improvements, ensuring the final product aligns with market needs.
- Investor and Stakeholder Engagement: A working prototype enhances presentations, increasing the chances of investment or approval.
Types of Prototypes
Understanding the different types of prototypes helps determine which approach best suits specific project needs. Below are the main categories:
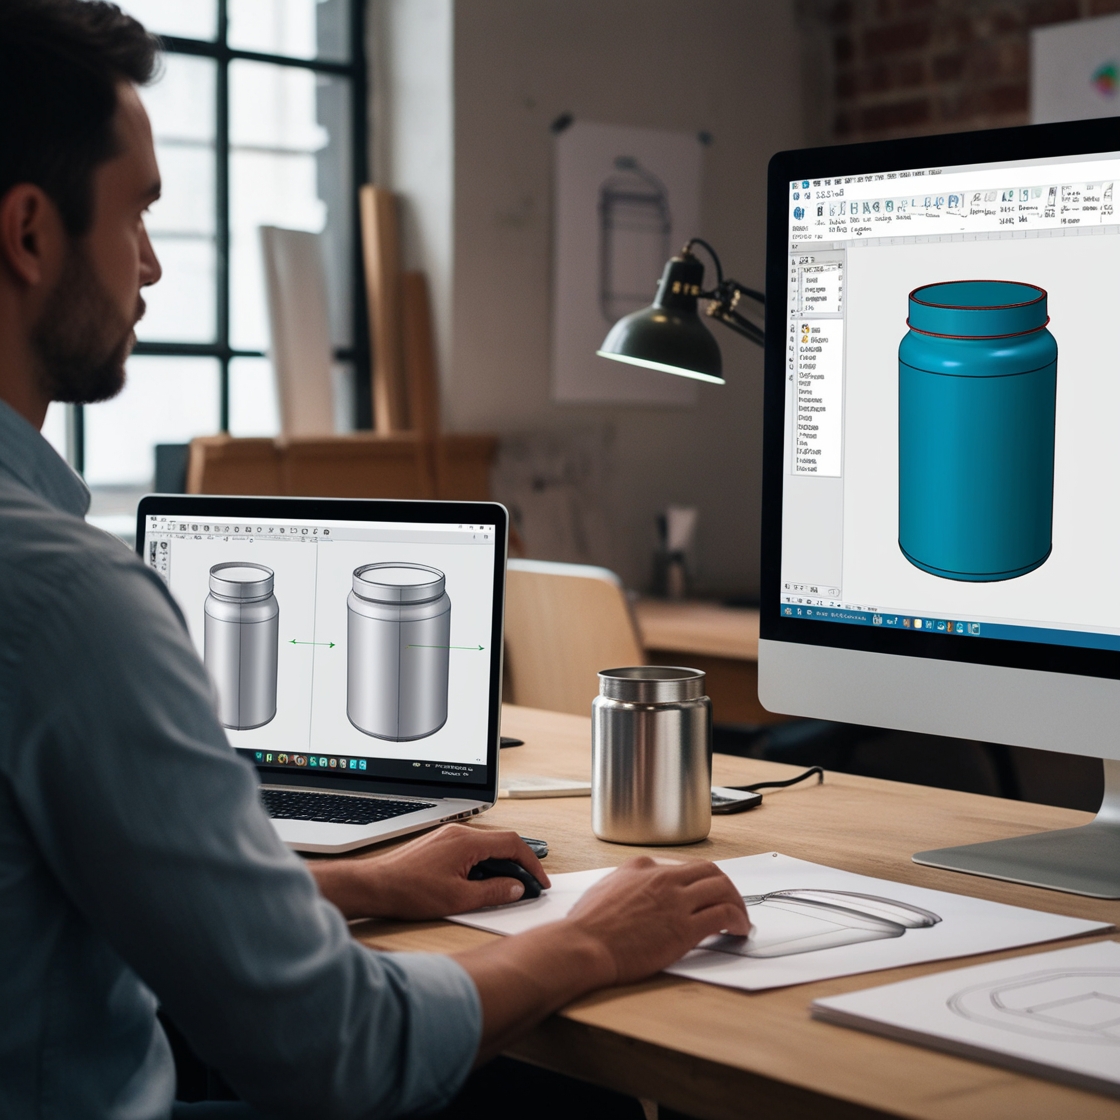
- Sketch and Wireframe Prototypes
- Purpose: Visualize basic design layouts and product structures.
- Tools: Pen and paper, digital sketch tools (Adobe XD, Figma).
- Benefits: Quick and cost-effective; ideal for initial brainstorming.
- Proof-of-Concept (PoC) Prototypes
- Purpose: Demonstrate feasibility of a concept or technology.
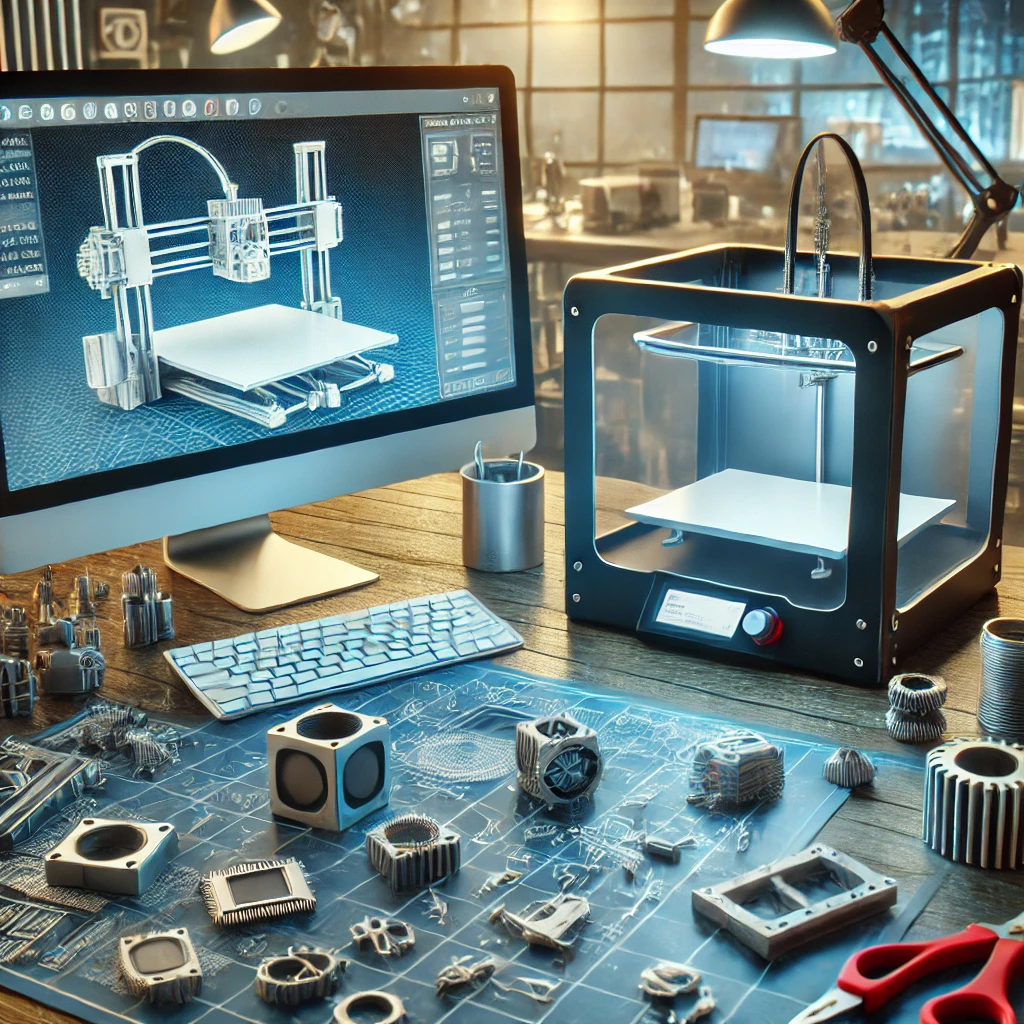
- Tools: 3D printers, breadboards (for electronics), CAD software.
- Benefits: Tests core functionality, focusing on specific features.
- Functional Prototypes
- Purpose: Mimic the functionality and performance of the final product.
- Tools: CNC machining, laser cutting, 3D printing.
- Benefits: Provides realistic testing of product performance.
- Visual Prototypes
- Purpose: Focuses on product appearance and design without full functionality.
- Tools: Foam models, clay, or digital renderings.
- Benefits: Showcases aesthetics for presentations and marketing.
- High-Fidelity Prototypes
- Purpose: Fully working models that resemble the final product.
- Tools: Advanced manufacturing techniques, interactive design platforms.
- Benefits: Suitable for final testing and user experience (UX) validation.
Step-by-Step Guide to Creating a Prototype
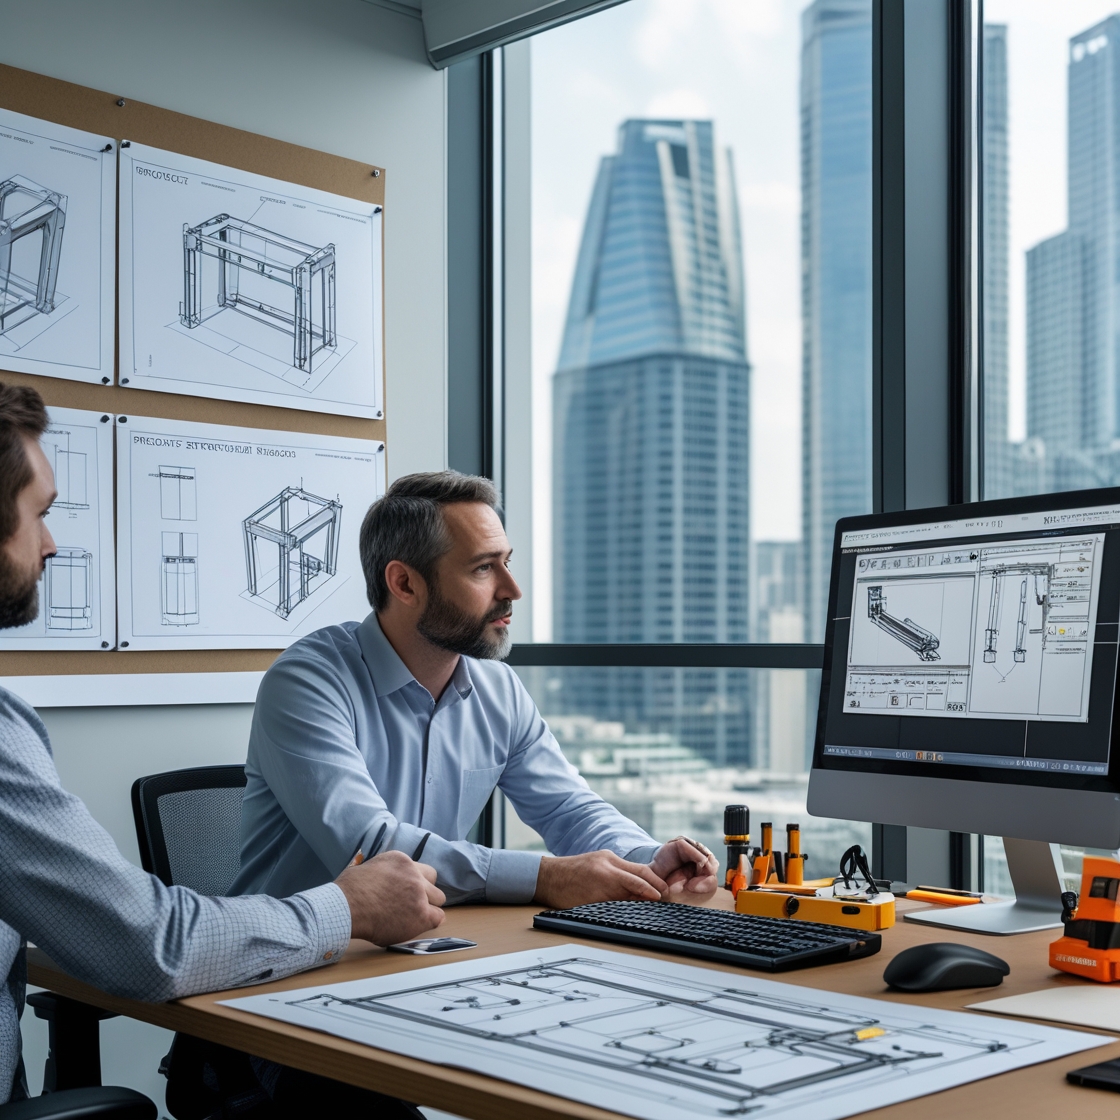
- Define Objectives and Requirements Start by clearly defining the goals of the prototype. Is it meant to test functionality, gather feedback, or showcase design aesthetics? Document technical specifications, materials, and desired features.
- Sketch Initial Concepts Translate ideas into rough sketches or wireframes. Focus on the primary structure, layout, and essential features. Engage stakeholders for initial feedback.
- Select the Appropriate Prototype Type Choose the type of prototype based on project needs and available resources. For functional testing, opt for high-fidelity prototypes. For early visualization, wireframes or visual models suffice.
- Leverage Digital Tools and Software Use computer-aided design (CAD) software such as SolidWorks or AutoCAD to create digital blueprints and 3D models. Interactive tools like Figma or Sketch are ideal for digital prototypes.
- Build the Prototype Depending on the complexity, choose the right manufacturing method:
- 3D Printing: Best for rapid prototyping and creating intricate designs.
- CNC Machining: Suitable for precise, durable prototypes.
- Laser Cutting: Ideal for flat designs and detailed patterns.
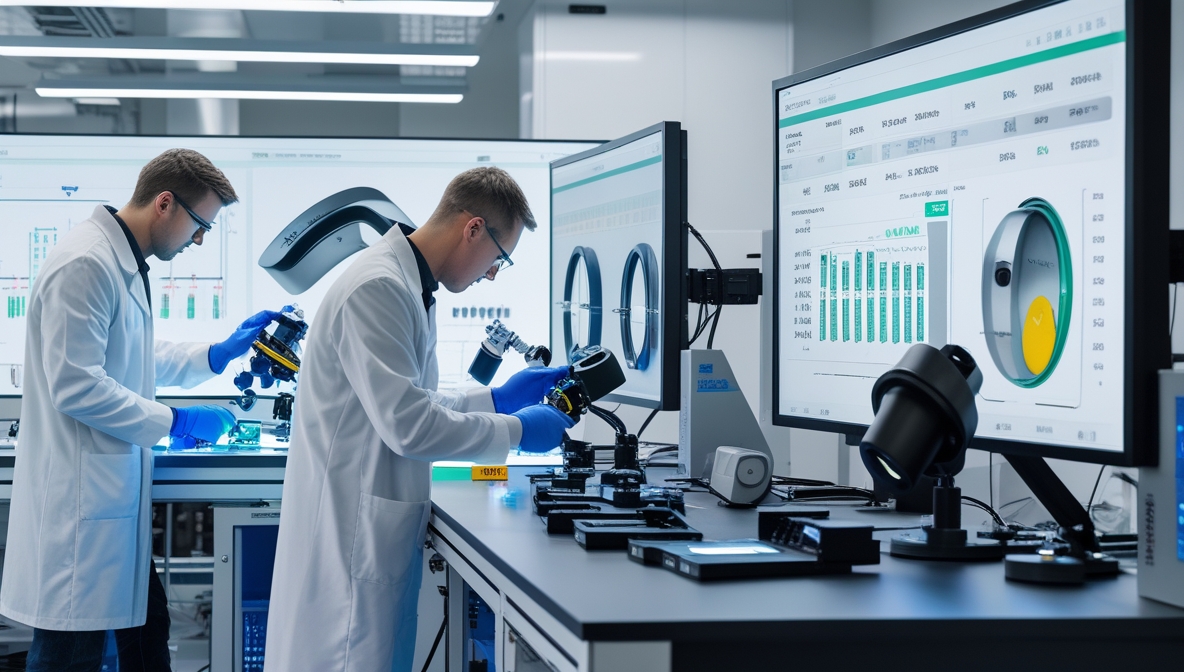
- Test and Evaluate Perform rigorous testing to evaluate the prototype’s performance, usability, and durability. Gather feedback from team members, users, and stakeholders. Document observations and potential improvements.
- Iterate and Refine Incorporate feedback and refine the design. Create multiple iterations, improving the prototype with each cycle. Ensure alignment with project objectives at every stage.
- Finalize the Prototype Once the prototype meets all requirements, finalize the design. Prepare the model for mass production, ensuring all specifications and documentation are complete.
Tools and Technologies for Prototyping
Modern prototyping benefits from advanced tools and technologies, including:
- 3D Printing: Rapid prototyping with plastic, metal, and resin materials.
- CAD Software: SolidWorks, AutoCAD, Fusion 360 for digital design.
- Laser Cutters: For precision cutting and engraving.
- Augmented Reality (AR): Allows interactive virtual prototypes.
- IoT Prototyping Kits: Ideal for smart devices and electronics.
Common Prototyping Challenges and How to Overcome Them
- Cost Overruns
- Solution: Set clear budgets and leverage cost-effective tools like 3D printing.
- Time Constraints
- Solution: Adopt agile development methodologies to ensure fast iterations.
- Material Limitations
- Solution: Experiment with alternative materials that offer similar properties.
- Lack of Expertise
- Solution: Collaborate with external prototyping firms or consultants.
Benefits of Effective Prototyping
- Reduced Development Costs: Early detection of design flaws prevents expensive modifications later.
- Enhanced Innovation: Encourages creativity and experimentation.
- Customer-Centric Design: Focuses on user needs and preferences, resulting in market-ready products.
- Faster Time-to-Market: Streamlined development processes speed up launch timelines.
Conclusion
Prototyping is an essential element of successful product development, enabling companies to innovate, minimize risks, and create products that resonate with consumers. By following best practices and leveraging modern tools, businesses can optimize their prototyping processes and bring groundbreaking products to market with confidence.